Installing your Bold is simple and quick. Follow our step-by-step guide and enjoy secure, keyless access right away.
With your Bold in hand, you're just minutes away from a more convenient and secure way to lock and unlock your door.
Thanks to its sleek design and effortless setup, the Bold is ready to go almost as soon as you are. We've created this guide to help you get started — let’s walk through the installation together.
🛠️ Before you begin
Make sure the large inner knob (the one with the engine) is placed on the inside of your door. This is essential for the lock to function correctly.
Step-by-step installation
1. Download the Bold app
Start by downloading the Bold app and creating your account.
2. Activate the battery
Remove the small battery tab from the lock to power it up.
3. Secure the engine
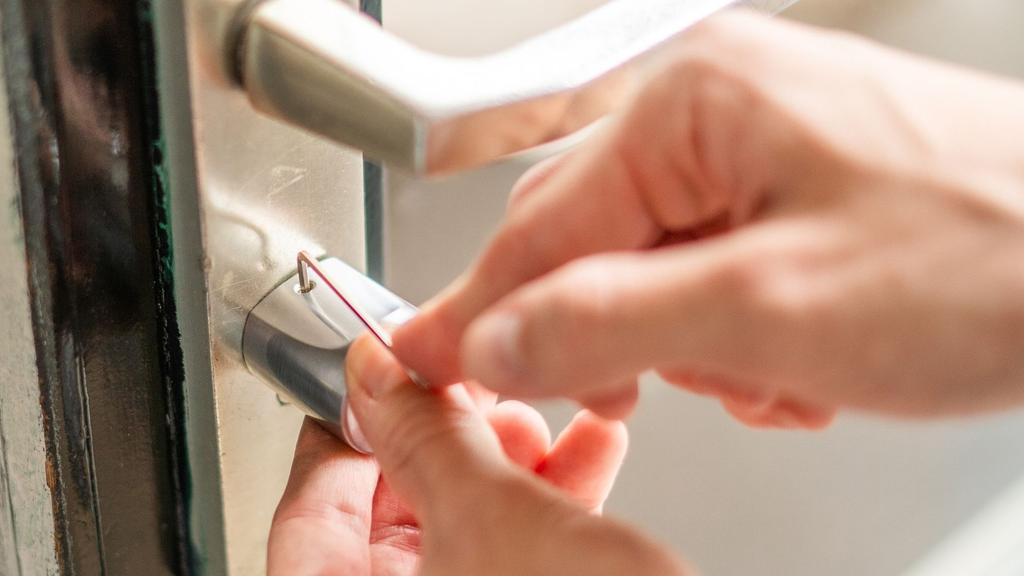
Tighten the engine using the small screw through the back of the inner knob.
4. Wake the lock
Press and hold the button on the lock for 5 seconds. You’ll hear a beep and see a light — that means it’s ready to connect.
5. Pair in the app
Open the Bold app, tap the plus (+) in the top-right corner, and follow the instructions to pair your lock.

6. Remove the outer knob
Use the included wrench to detach the outer knob.
7. Remove your existing cylinder
Unscrew and take out your old door cylinder.
8. Extend if needed
If your door requires it, use one of the provided adapters to extend the lock on the outside.
9. Install the Bold
Insert the Bold into the door with the large knob on the inside. Gently tighten the cylinder locking bolt with a screwdriver — no need to overtighten.
10. Reattach the outer knob
Fit the small outer knob back onto the Bold and tighten.
You’re all set
That’s it — your Bold is ready to use. You’ve officially upgraded to a smarter, more secure way of living.
Need help or want to explore more features like sharing access, auto-entry, or backup PINs? Visit our Support Centre for everything you need.