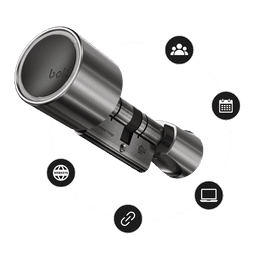

The Bold Entry Tag adds a faster, more direct way to unlock your Bold Pro doors. With one tap, the correct lock is activated right away.
This guide walks you through the setup in just a few minutes.
Before you start
✔ You’re using Bold Pro
✔ Your Bold Pro lock is already installed and active
✔ Bluetooth and NFC are enabled on your phone
Step by step installation
1. Open the Bold app
Open the Bold app on your phone. Make sure Bluetooth and NFC are enabled.
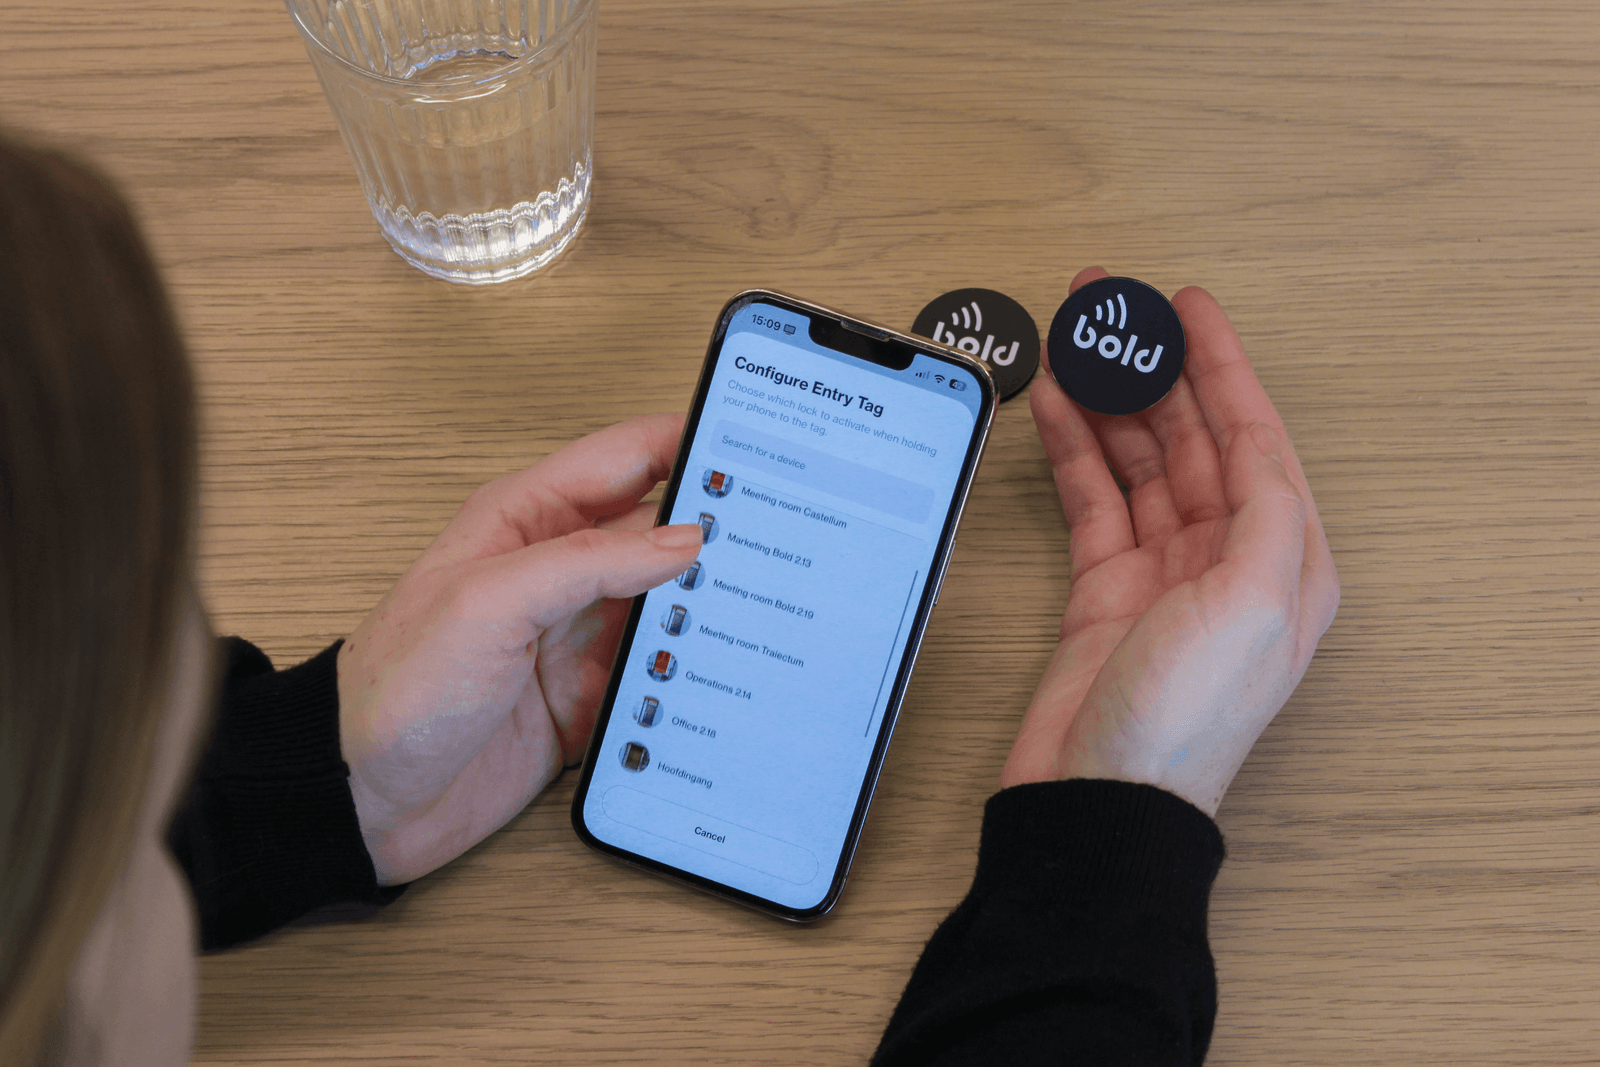
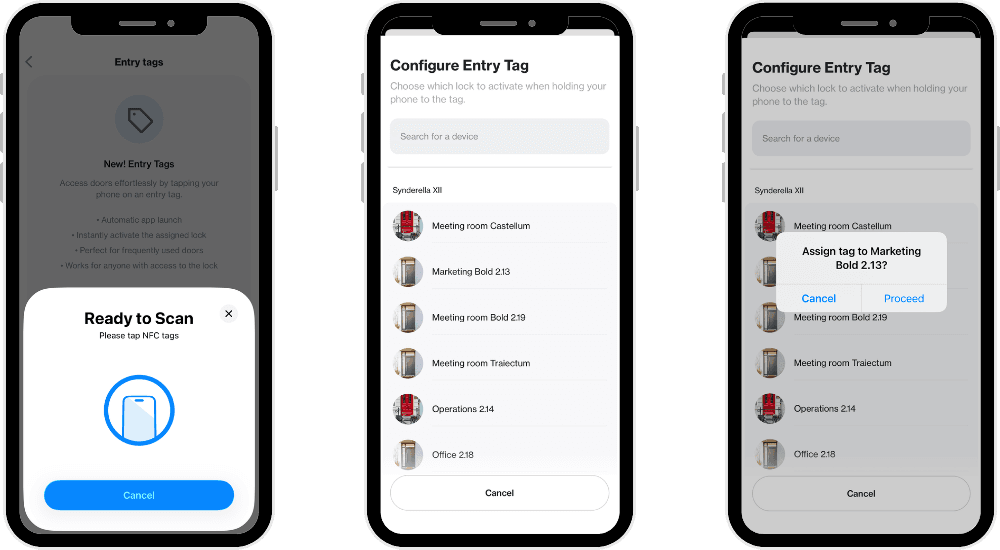
2. Assign the Bold Entry Tag
Hold your phone near the Bold Entry Tag. Once it is recognised in the Bold app, select the correct Bold Pro lock and assign the tag to that door.
If you have multiple doors, it is recommended to first stick the Entry Tags next to their corresponding doors before linking them in the Bold app. This helps prevent confusion about which Entry Tag is assigned to which lock. Each tag can be linked to one lock only.
3. Prepare the surface
Choose the position next to the corresponding door. Make sure the surface is clean and dry before installation to ensure long lasting adhesion.
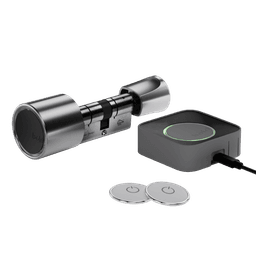
4. Attach the Bold Entry Tag
The Bold Entry Tag comes as a self adhesive sticker. Remove the protective backing and firmly stick it next to the door.
5. Test the setup
Hold your phone near the Bold Entry Tag. A pop up appears automatically for that specific door.
6. Tap to enter
Tap the pop up to confirm. The Bold Pro lock unlocks instantly.

You’re ready
Once installed, the Bold Entry Tag becomes part of your daily access routine. It builds on your existing Bold Pro setup and improves the moment of entry without changing how access is managed.
If you want to explore more professional access features, visit our Support Centre for detailed guidance on managing users, roles, and access rules.
-1769688019051.png&w=640&q=75)